Whether your balcony is a broad sunny terrace or a narrow iron railing outside an apartment door, you can grow food there. This guide covers the essentials: choosing a spot, gathering simple tools, and making the most of plastic bottles as planters.
Why Grow on Your Balcony?
Urban gardening is one of the most satisfying hobbies you can start with very little investment. Growing your own tomatoes, herbs, and greens means:
- Fresher produce than anything from a supermarket
- Significant reduction in plastic packaging waste
- A calming daily ritual that reduces stress
- Educational activity for children and seniors alike
- Lower food costs over a growing season
- Connection to the natural growing cycle in any urban environment
Step 1 — Assess Your Space
Before buying anything, spend a day observing your balcony. Note which direction it faces and how many hours of direct sunlight it receives. Most vegetables need 4–6 hours of sun per day; tomatoes and peppers need 6–8 hours.
☀️ Sunlight Rule of Thumb
South-facing balconies in Japan get the most sun year-round. East-facing is good for morning crops (lettuce, spinach). West-facing suits afternoon growers. North-facing balconies work best for shade-tolerant herbs like shiso and mitsuba.
Step 2 — Gather Your Starter Kit
You do not need expensive equipment. Start with items you likely already have at home:
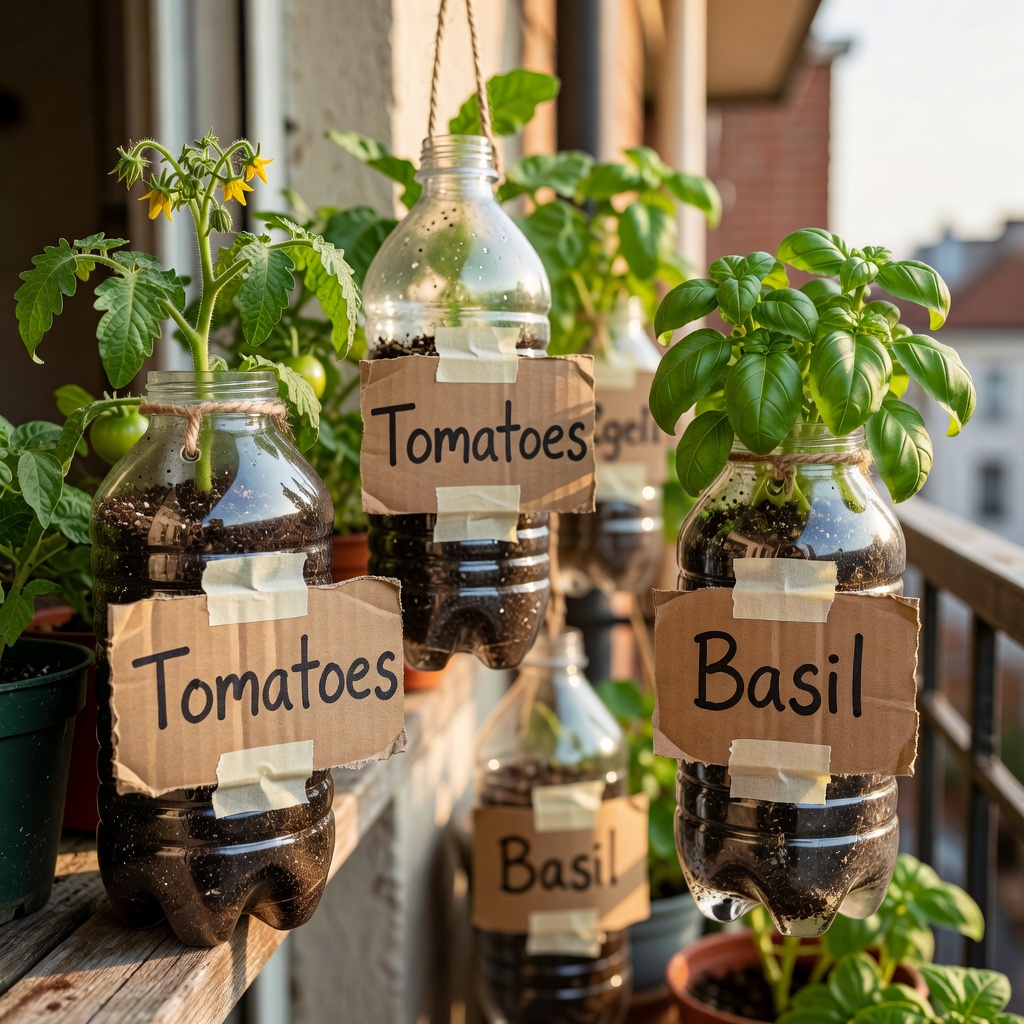
Collect Plastic Bottles
Save 1.5L and 2L PET bottles. Remove labels. Rinse thoroughly and let them dry completely before use.
Get Quality Potting Soil
Purchase a bag of vegetable potting mix (野菜の培養土) from any home centre. Avoid garden soil, which compacts and drains poorly in containers.
Find Seeds or Seedlings
Beginners do best starting with seedlings (苗) rather than seeds. Tomatoes, basil, and mini peppers are forgiving and widely available at home centres in spring.
Prepare Basic Tools
A sharp craft knife or scissors, a skewer or nail for drainage holes, a small watering can, and a spray bottle for misting are all you need to start.
Set Up Drainage & Trays
Place cut bottle planters on trays or plates to catch excess water. This protects your floor and allows plants to absorb water from below.
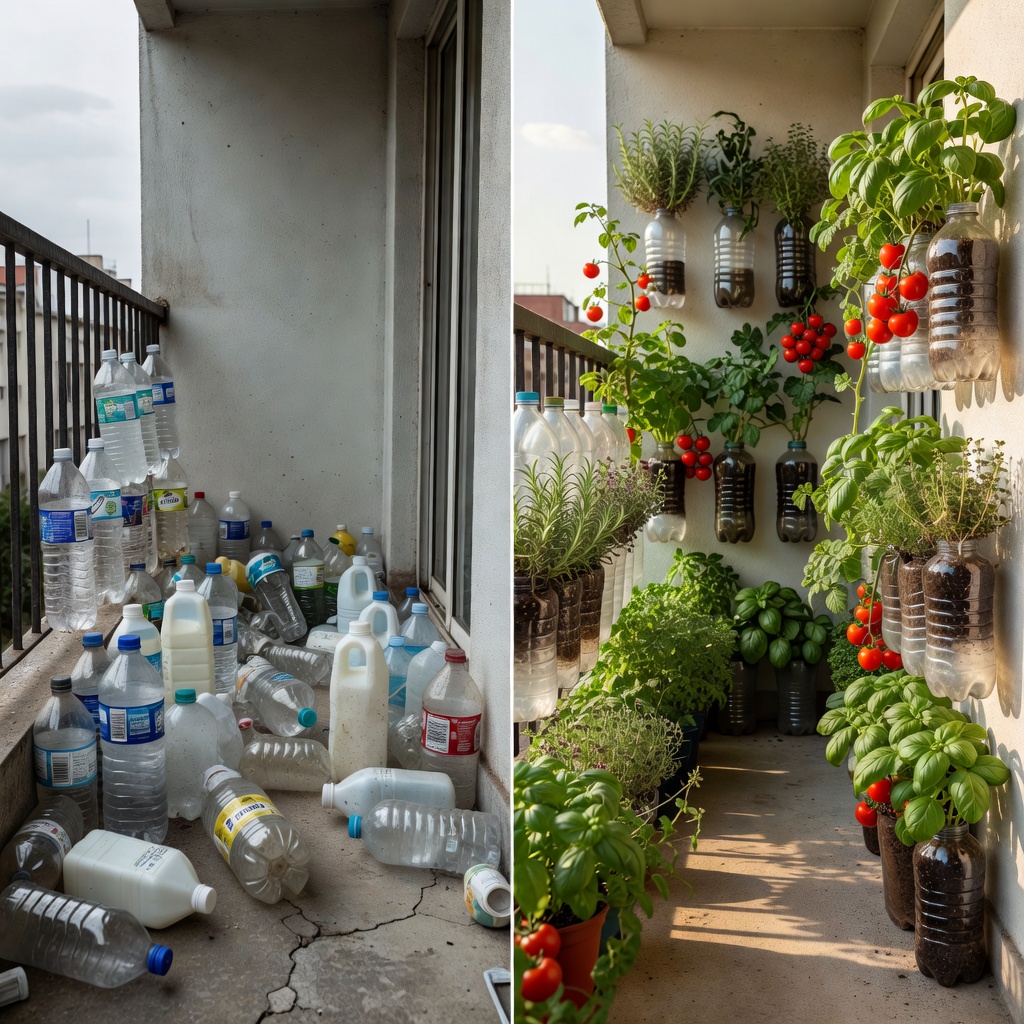
Step 3 — Plan Your Layout
Group taller plants (tomatoes, cucumbers) at the back or edges where they will not shade shorter ones. Use vertical space by hanging bottles from railings. Leave enough room to water and check plants comfortably every day.
Typical Beginner Layout for a 6m² Balcony
Place 4–6 large bottle planters (2L) along the back wall for tomatoes and peppers. Hang 6–8 medium bottles (1.5L) from the railing for herbs and strawberries. Keep a tray of shallow bottle halves near the door for radishes and spring onions. This setup takes under two hours to assemble.
Step 4 — Start Small, Expand Later
Resist the urge to plant everything at once. Start with two or three types of vegetable and learn their rhythms. Cherry tomatoes, basil, and radishes are the classic beginner trio — fast-growing, rewarding, and mutually beneficial as companion plants.