Every year, billions of plastic bottles are discarded across Japan. Giving them a second life as planters is one of the most impactful small actions an urban resident can take. This guide walks you through four proven methods — from simple upright pots to elegant hanging systems.
Why Plastic Bottles Work So Well
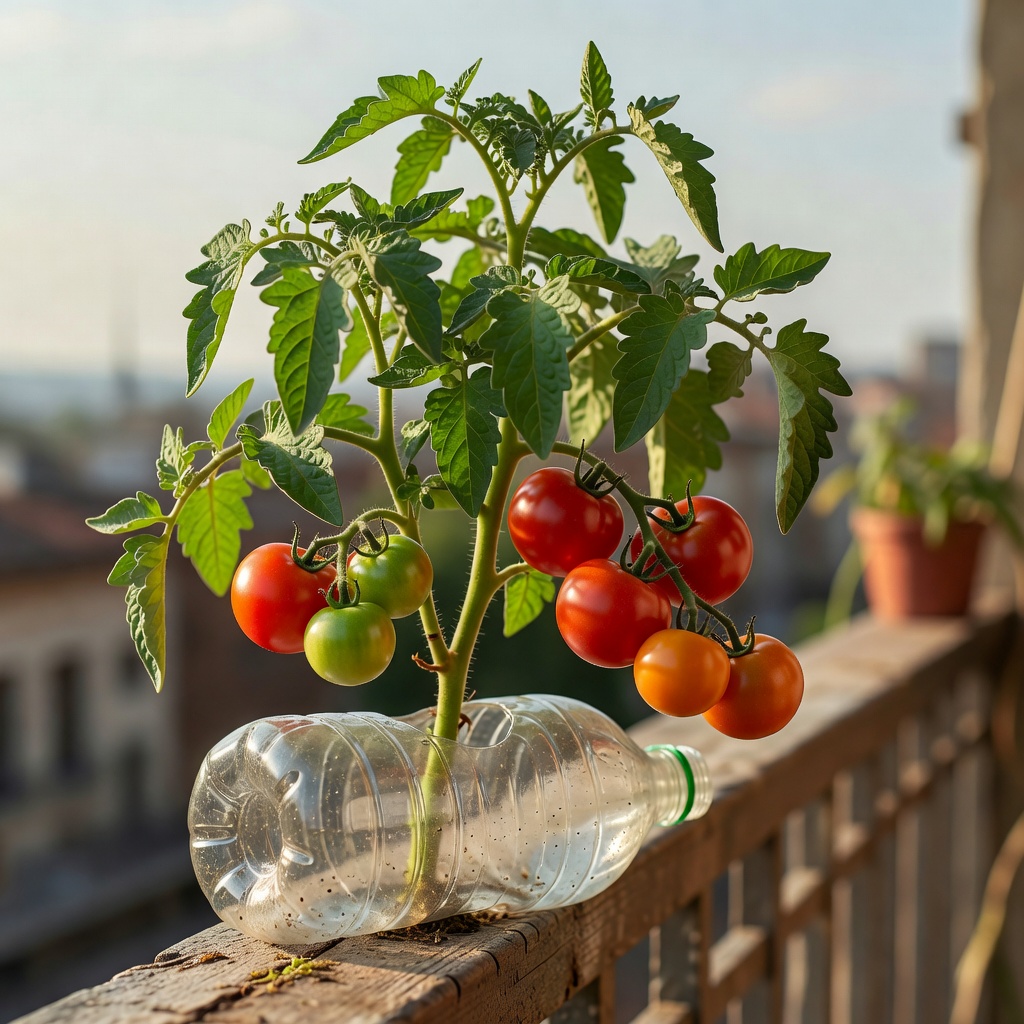
PET plastic is lightweight, transparent (so you can check soil moisture from the side), easy to cut, and — crucially — free. Unlike terracotta or ceramic pots, bottles do not crack in frost, do not absorb water themselves, and can be repositioned easily as the sun moves.
The Four Core Methods
Method 1 — Upright Pot
Cut off the top third of the bottle. Pierce 6–8 drainage holes in the base with a skewer. Fill with potting mix to 3cm below the rim. Plant seedling and firm the soil gently.
Method 2 — Horizontal Half-Planter
Lay the bottle on its side. Cut a wide rectangular window in the top surface. Pierce drainage holes along the bottom. Fill with shallow-root potting mix. Ideal for root vegetables.
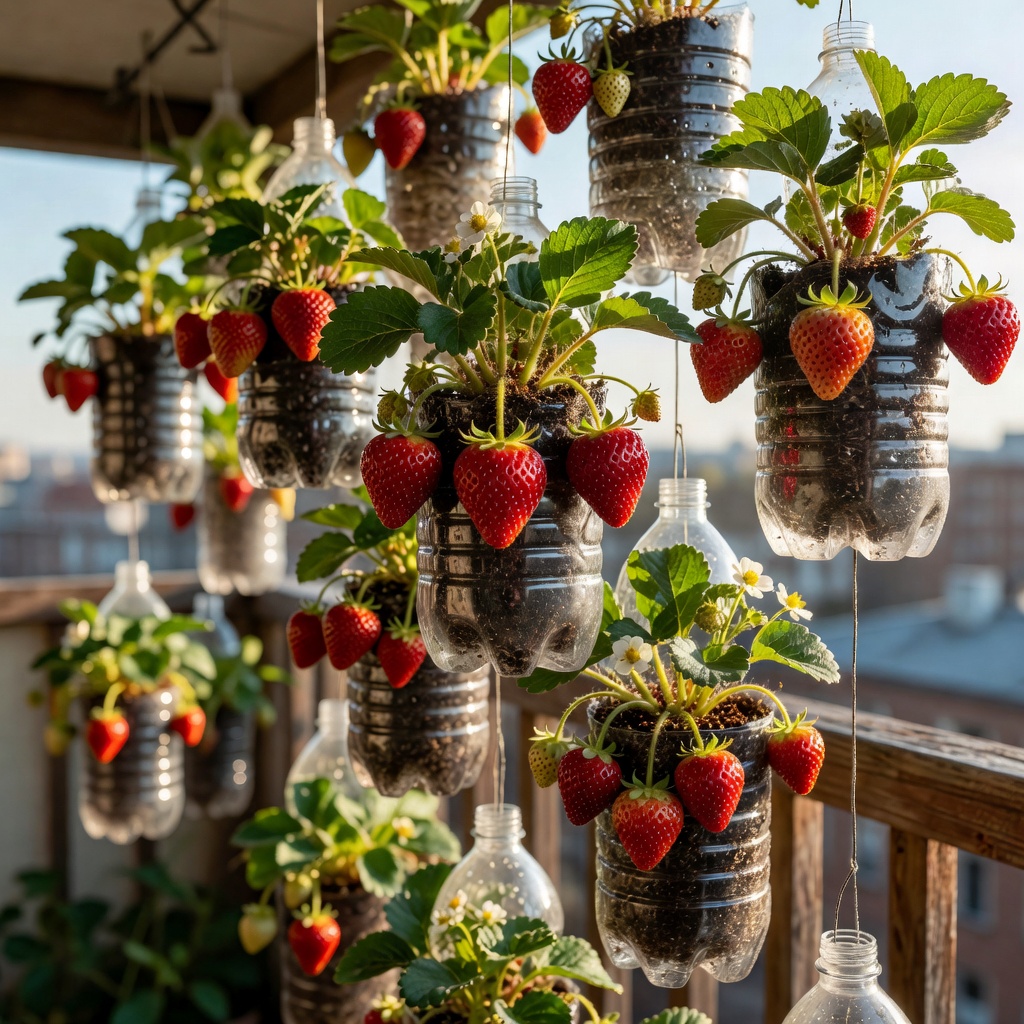
Method 3 — Hanging System
Cut a planting hole in the side of the bottle. Thread two lengths of rope through holes at the base and secure with knots. Hang from railing. Plant through the side opening, roots resting in soil inside the bottle.
Method 4 — Wicking Self-Waterer
Cut the bottle in half. Invert the top half into the lower half (water reservoir). Thread a cloth wick through the bottle cap. Fill the top with soil and plant. Water sits in the lower chamber and wicks up slowly.
Step-by-Step: Upright Pot in Detail
Prepare the Bottle
Remove the label, rinse with warm water, and dry completely. Use a permanent marker to draw a cutting line around the top third of the bottle.
Make the Cut
Using a sharp craft knife or strong scissors, carefully cut along the marked line. Keep the cut as level as possible for even soil distribution.
Add Drainage Holes
Heat a metal skewer or nail and pierce 6–8 holes in the base of the bottle. Holes should be 3–4mm in diameter to allow free drainage without losing soil.
Add Gravel Layer (Optional)
A 2cm layer of small stones or coarse sand at the base improves drainage and prevents soil from washing through the holes during heavy watering.
Fill with Potting Mix
Fill the bottle to about 3cm below the rim. Use vegetable potting mix (野菜の培養土), not garden soil. Tap the bottle gently to settle the mix.
Plant and Water In
Make a hole in the centre of the soil, insert your seedling, and firm around the roots. Water gently until water runs from the drainage holes. Place on a tray.
⚠️ Important: Dark Bottles for Root Health
Transparent PET bottles allow light to reach the roots, which can stress plants and encourage algae growth in the soil. Wrap the outside of the bottle with newspaper, fabric tape, or paint it with water-based paint to block light. A few layers of dark paper secured with tape works perfectly.
Pro Tips for Bottle Planters
- Label each bottle with the plant name and planting date using a permanent marker directly on the bottle
- Group bottles of the same crop together to simplify watering and fertilising schedules
- Use the cut-off bottle tops as mini cloches to protect seedlings on cold nights
- Rotate bottles a quarter turn each week so all sides receive equal sunlight
- Replace potting mix at the start of each new growing season for best results
- Mix slow-release fertiliser granules into the potting mix at planting time to reduce feeding frequency